1:35 WWI British Mk IV Female Tank in the mud at the Western Front
I have always been fascinated by the first tanks of WWI and having purchased an 1:35 Takom MK IV Female tank and a couple of resin British Infantrymen some time ago, I decided to make a go for a small diorama showing a tank in the mud at the Western front.
I have had this idea in my head for some (many!) years and looked forward to build it. I have collected and studied a lot of pictures from this place and time and had a good impression of the appalling terrain the tanks (and the accompanying soldiers) had to face.
I had to major challenges in this project - on is my health, as I have not felt 100% fit for some time and the other - the fact that I have not built military models and dioramas for 20 years or more. Since then I have replaced my trusty enamel paints with water based Vallejo etc paints and I am not 100% confident with the modern pigments, washes etc.
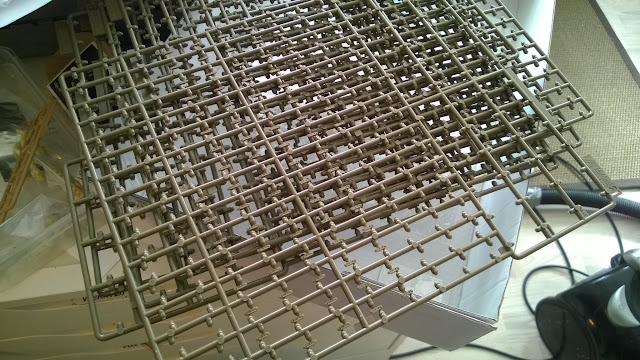
I began building the tank from the Takom kit - and to be honest this was not a good experience :-( the kit has nearly 1000 parts and if they had used some common sense they could have made a better kit with only 200 parts, as they have made the kit much more complicated and detailed than necessary.
One example: the tracks are made up with 92 plates at each side and each track is made up from 5 parts each !! to make the tracks moveable - on a static model ??? weird !!
- also a lot of details are hidden, when the tank is finished, meaning a waste of time and money
But onwards with the build: (click on the photos to get bigger images)


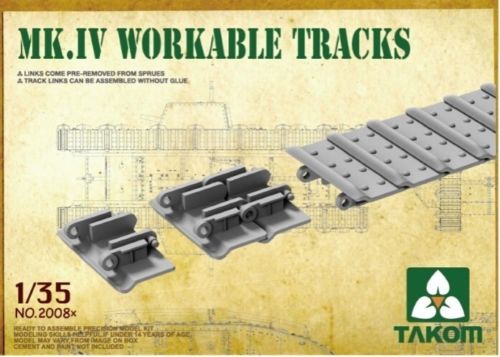
Takom has now introduced a set of workable track links to replace the complicated kit parts. I found this kit too late :-(


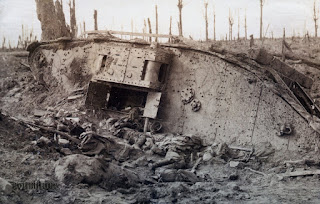
I have had this idea in my head for some (many!) years and looked forward to build it. I have collected and studied a lot of pictures from this place and time and had a good impression of the appalling terrain the tanks (and the accompanying soldiers) had to face.
I had to major challenges in this project - on is my health, as I have not felt 100% fit for some time and the other - the fact that I have not built military models and dioramas for 20 years or more. Since then I have replaced my trusty enamel paints with water based Vallejo etc paints and I am not 100% confident with the modern pigments, washes etc.
I began building the tank from the Takom kit - and to be honest this was not a good experience :-( the kit has nearly 1000 parts and if they had used some common sense they could have made a better kit with only 200 parts, as they have made the kit much more complicated and detailed than necessary.
One example: the tracks are made up with 92 plates at each side and each track is made up from 5 parts each !! to make the tracks moveable - on a static model ??? weird !!
- also a lot of details are hidden, when the tank is finished, meaning a waste of time and money
But onwards with the build: (click on the photos to get bigger images)

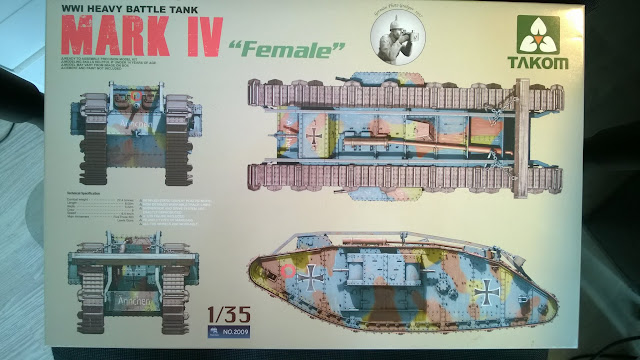
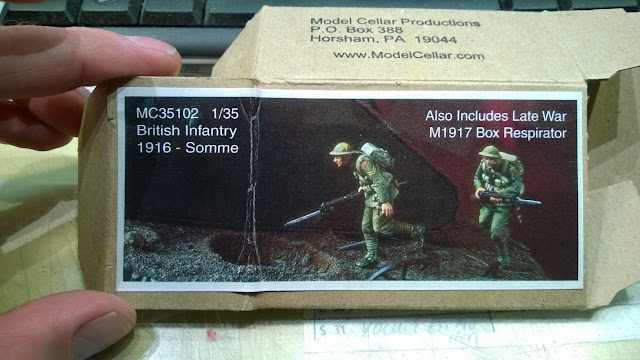
Box art - showing a tank captured by the Germans :-(

The small parts for assembling the tracks

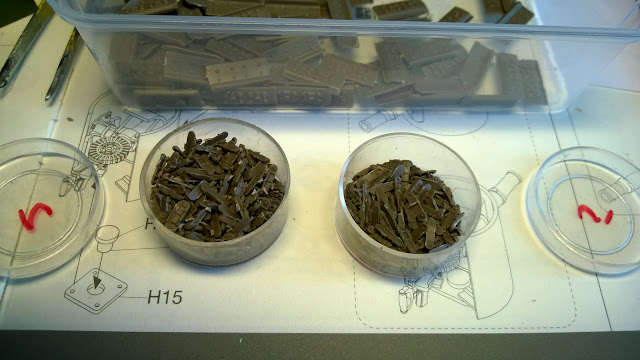
Some of the parts after removing from the sprues and cleaning. After nearly having a heart failure and a nervous breakdown I dedided that this was not the way to go :-(

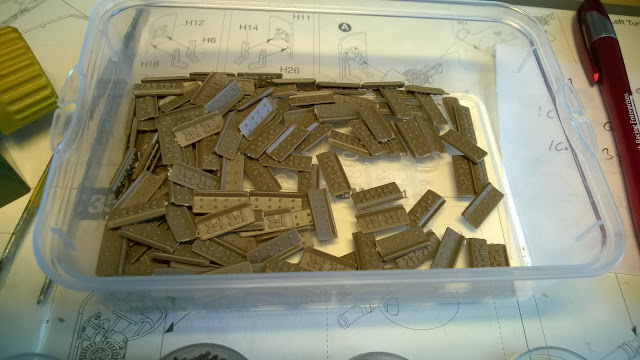
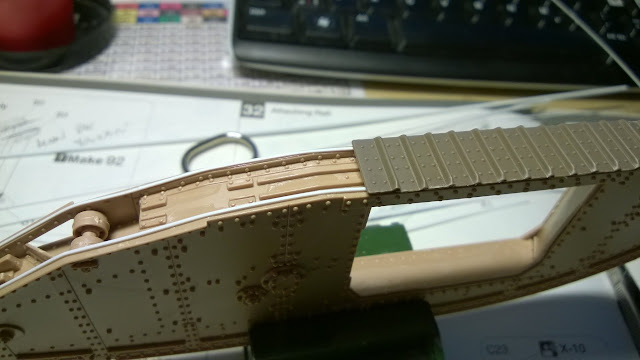
The track links

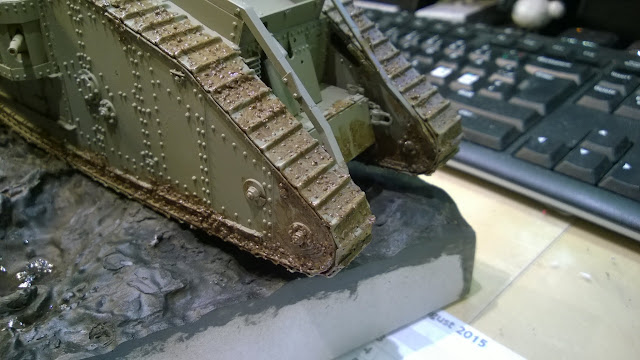
Takom suggests that one could drop the small parts and glue the plates directly to the sponsons, but then the small gap between the tracks and the sponsons on the original would disappear, so I glued small 0,36mm styrene strips on the sponsons and glued the tracks onto these

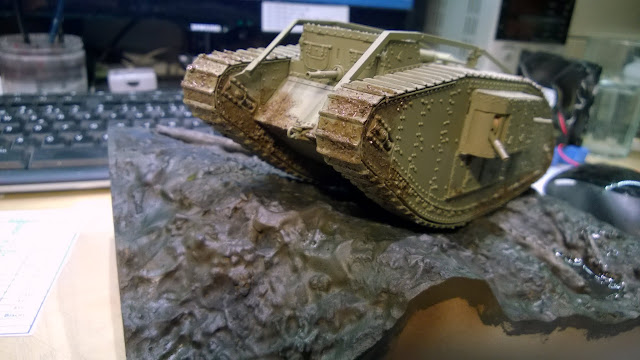
One side finished and one ready to go

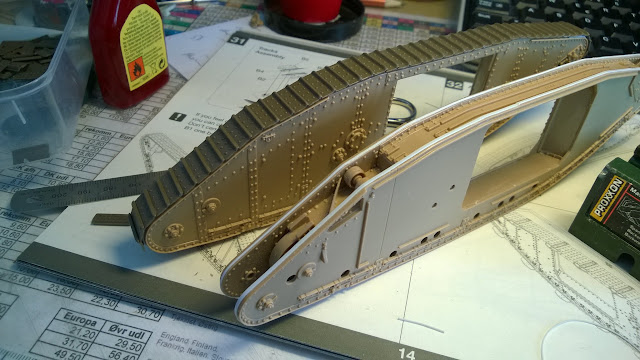
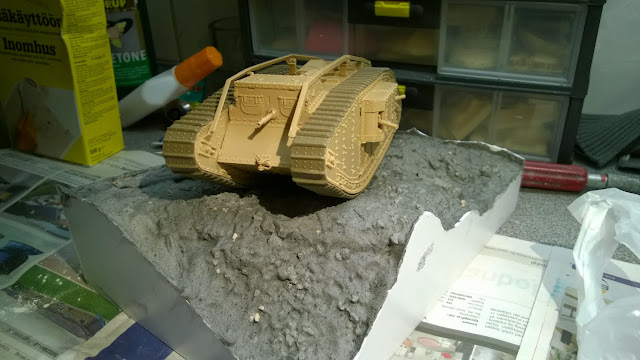
Both side finished

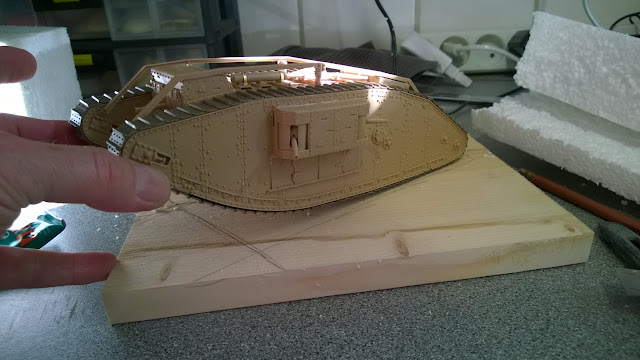
I ahve cut a piece of wood for the diorama plate. I have to much stuff and too little room, so everything has to be reduced to a minimum :-)

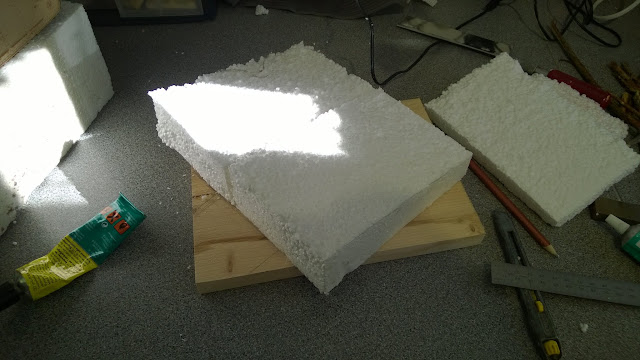
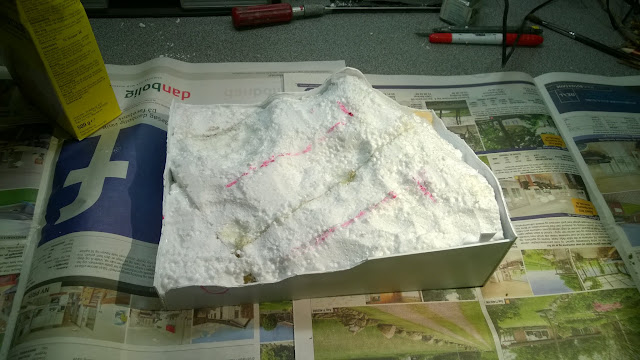
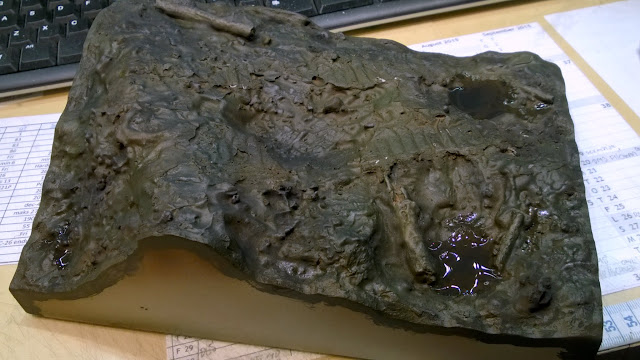
A block of expanded polyester was used for the terrain and sculpted using model saws, hobby knives, files, grinding tools etc

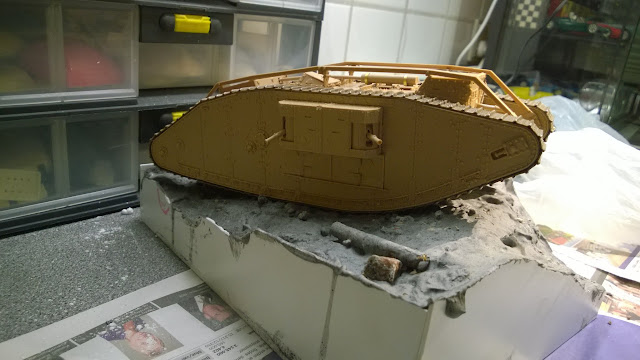
I then made a frame of 1,5mm styrene

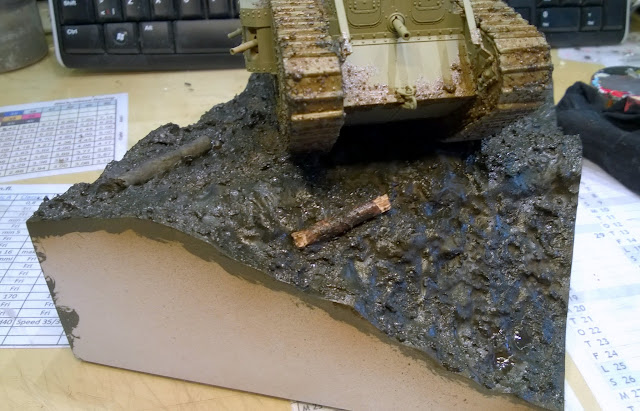
The terrain was sculpted using Polyfilla - a plaster like substance, that mixed with water is great for this (and other) purposes. I mixed it with a bit of black colour to make it easier to colour afterwards ,
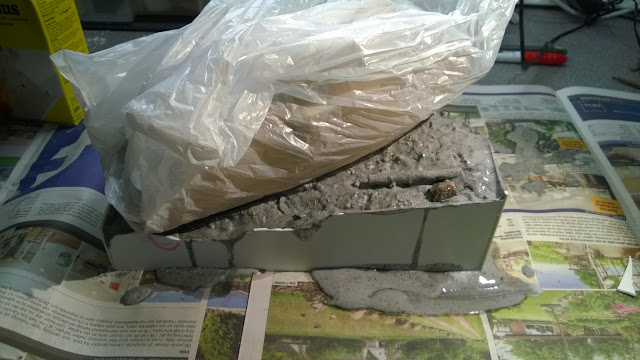
The plastic bag is the the tanks making tracks in the terrain :-)
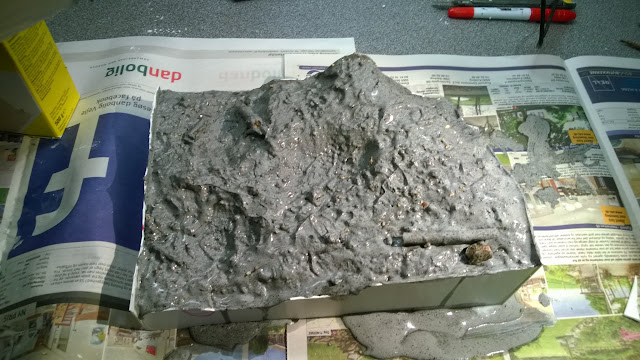
I adde cat litter, small stones and a couple of pieces of branches to the scene


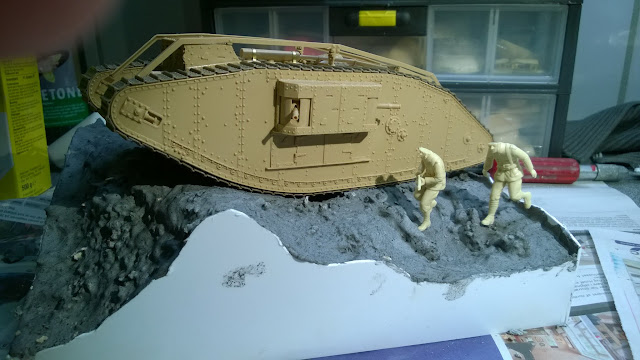
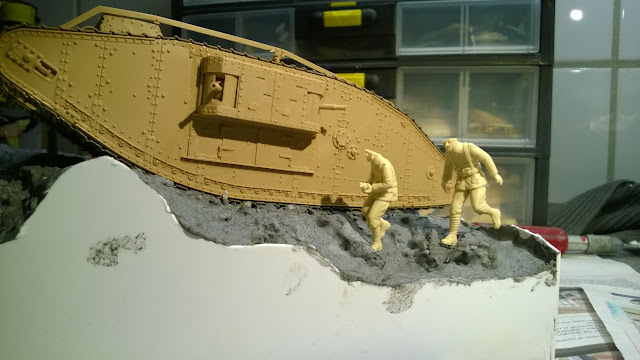
The two resin soldiers from Model Cellar Productions


Nice and very detailed figures with a lot of accessories

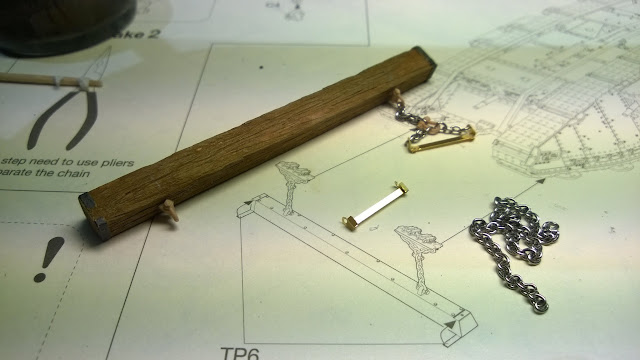
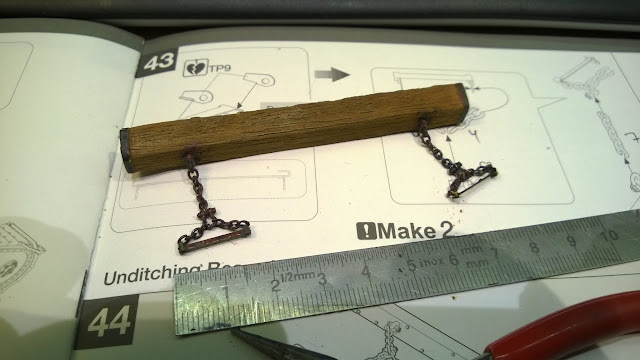
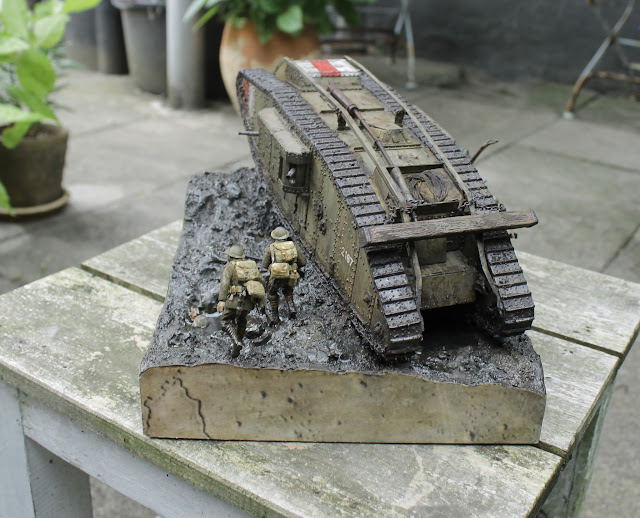
Top: the unditching beam from the kit. No wood structure and therefore I replaced it with a piece of Abachi wood with extra wood structure added with a needle and a wire brush

Photo etched parts and schain from the kit - not very easy to make. The choice of a chromed chain in hard material is strange and makes the task much more difficult than necessary.


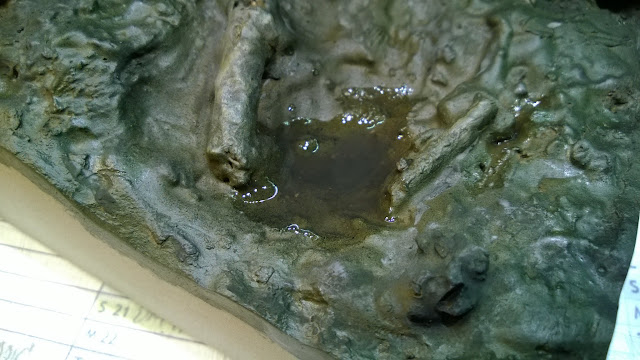
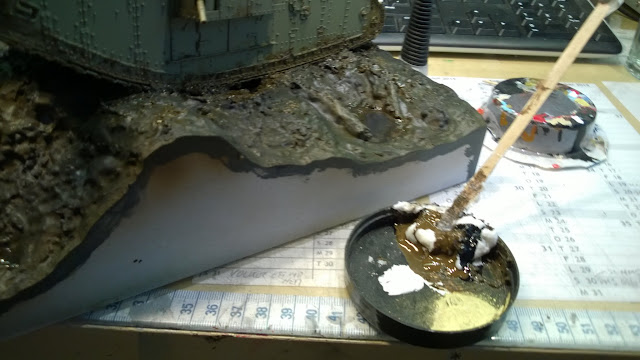
Water is made with Vallejo Still Water which I dyed with dark brown paint


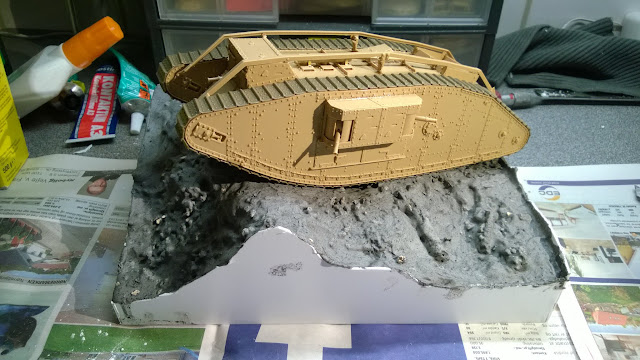
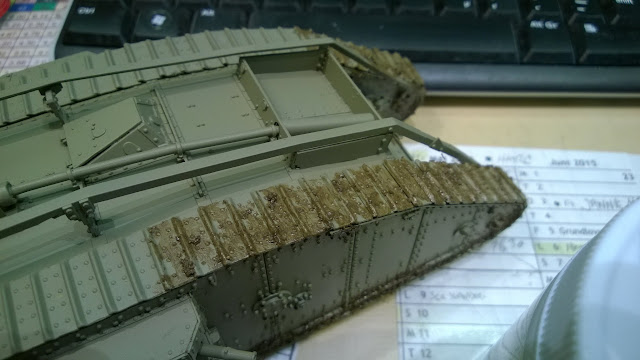
My first attempt of mudding the tank and tracks


Takom has now introduced a set of workable track links to replace the complicated kit parts. I found this kit too late :-(

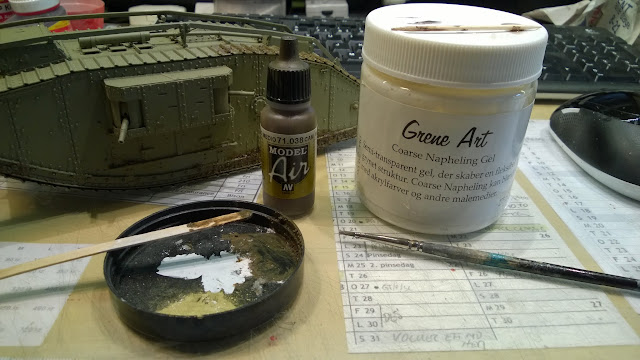
Making mud from Coarse Napheling Gel from a local shop (Søstrene Grene), dyed with Vallejo Model Air acrylics.


Mixing mud for the diorama

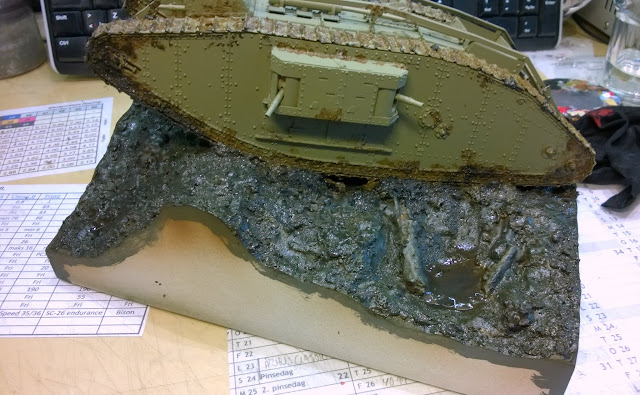
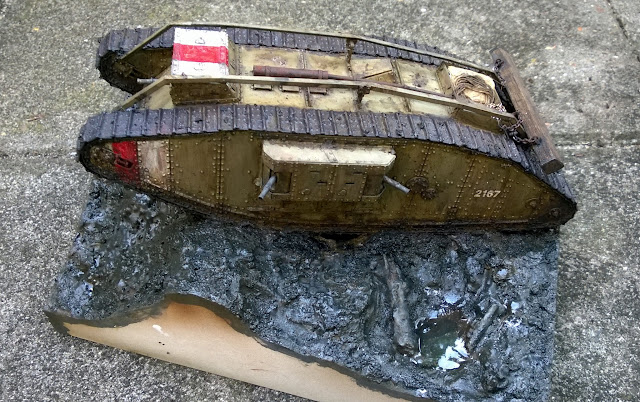
Mud added to the diorama and under the tracks


When dry, next step is weathering the tank and finishing the two soldiers.

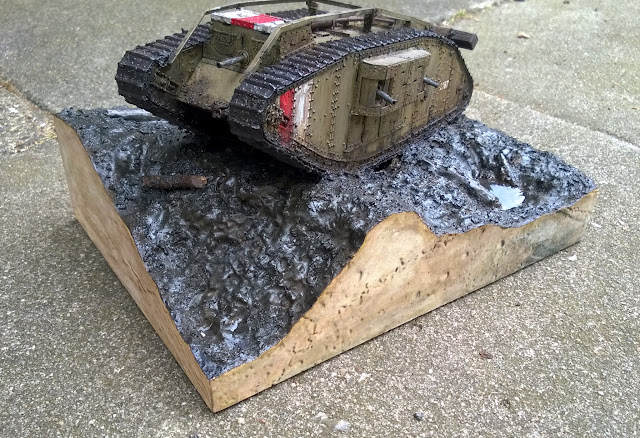
I used Vallejo and Mig Filters and Washes for the weathering of the tank and landscape. Clear acrylic was also used to highlight the "wet" feeling of the mud

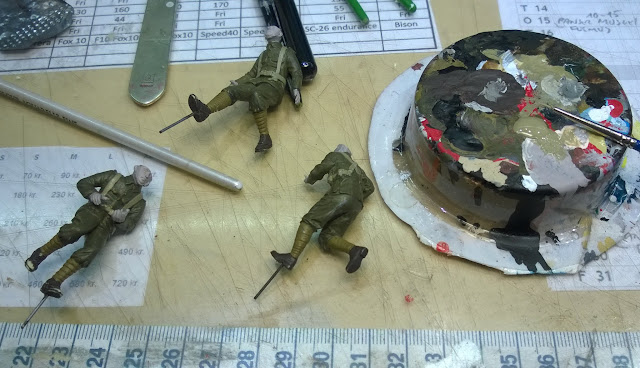
Work continues on the to soldiers, that has got company from the Tamiya WWI British Infantry set

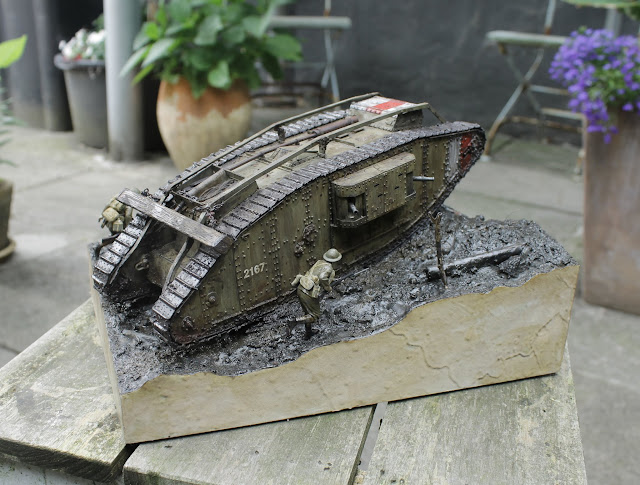
The sides of the diorama has been decorated with an aerial photo of the trenches, which I found on the web. I printed the map on self adhesive paper and mounted these on the sides, Blending the sides with the landscape proved difficult, but I am satisfied with the result.


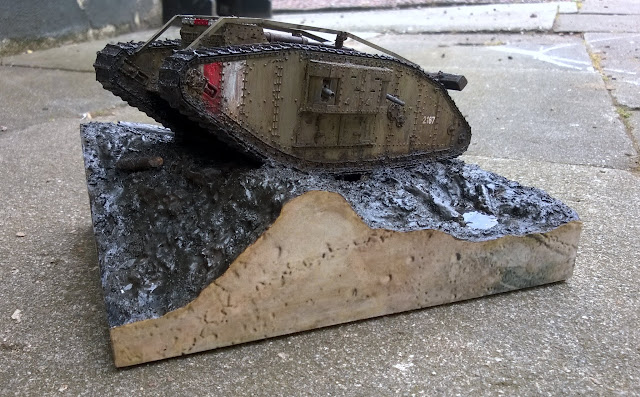
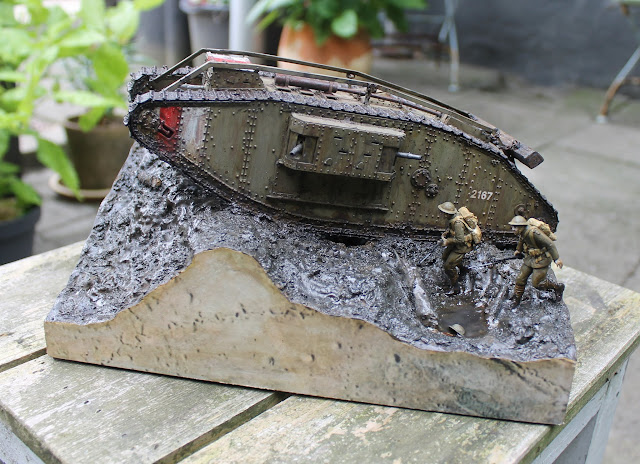
Infantry added and the diorama is finished - a good feeling :-)


I was nice challenging myself with this build. 20 years is a long time and my eyes has not got better with the years, so 1:35 was suddenly a small scale, compared to my usual 1:24 model cars.
The landscaping and weathering was also a challenge, but when started, I really enjoyed the work and I am surely pleased with the result, thinking it gives sort of impression of how bad things were like on the Western Front a little more than 100 years ago.

Niels Elmholt, Juli 2015