1:24 Fred Lorenzen 1966-67 Ford Fairline Grand national Stocker
1:24 Fred Lorenzen 1966-67 Ford Fairline Nascar Grand National car
I have always been fascinated by the older Nascars, especially from 1963-73. recently I bought a Fairlane kit on E-bay, so now its time to build a slot car model of this car.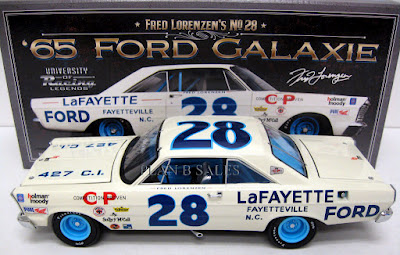 |
| Die cast model of a similar car |
 |
| AMT plastic kit body and JNJ decals for the Fred Lorenzen car. |
The specifications will be:
Chassis: simple, no suspension and limited movement of body on H-plate
Motor: 18V Black Carrera
Wheels: 17mm inner diameter
Front wheels: 9mm wide and 26mm diameter
Rear wheels: 13mm wide and 27mm diameter
Weight: aim 210g
Clearance: 1,5mm
The car will receive a full 3d interior with driver figure and roll bar.
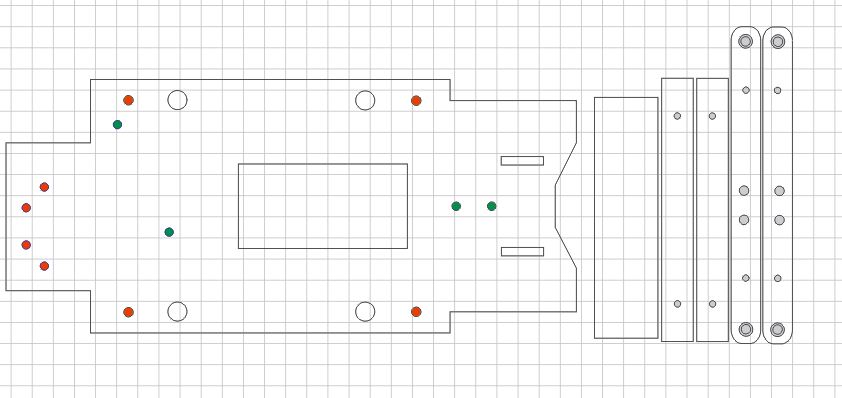
Chassis drawn in Corel draw
Chassis parts - all extra hardware is cheap German Schöler parts. Motor is 18v Black Carrera which is a solid workhorse, not unlike the stockblock engines of these early Nascars
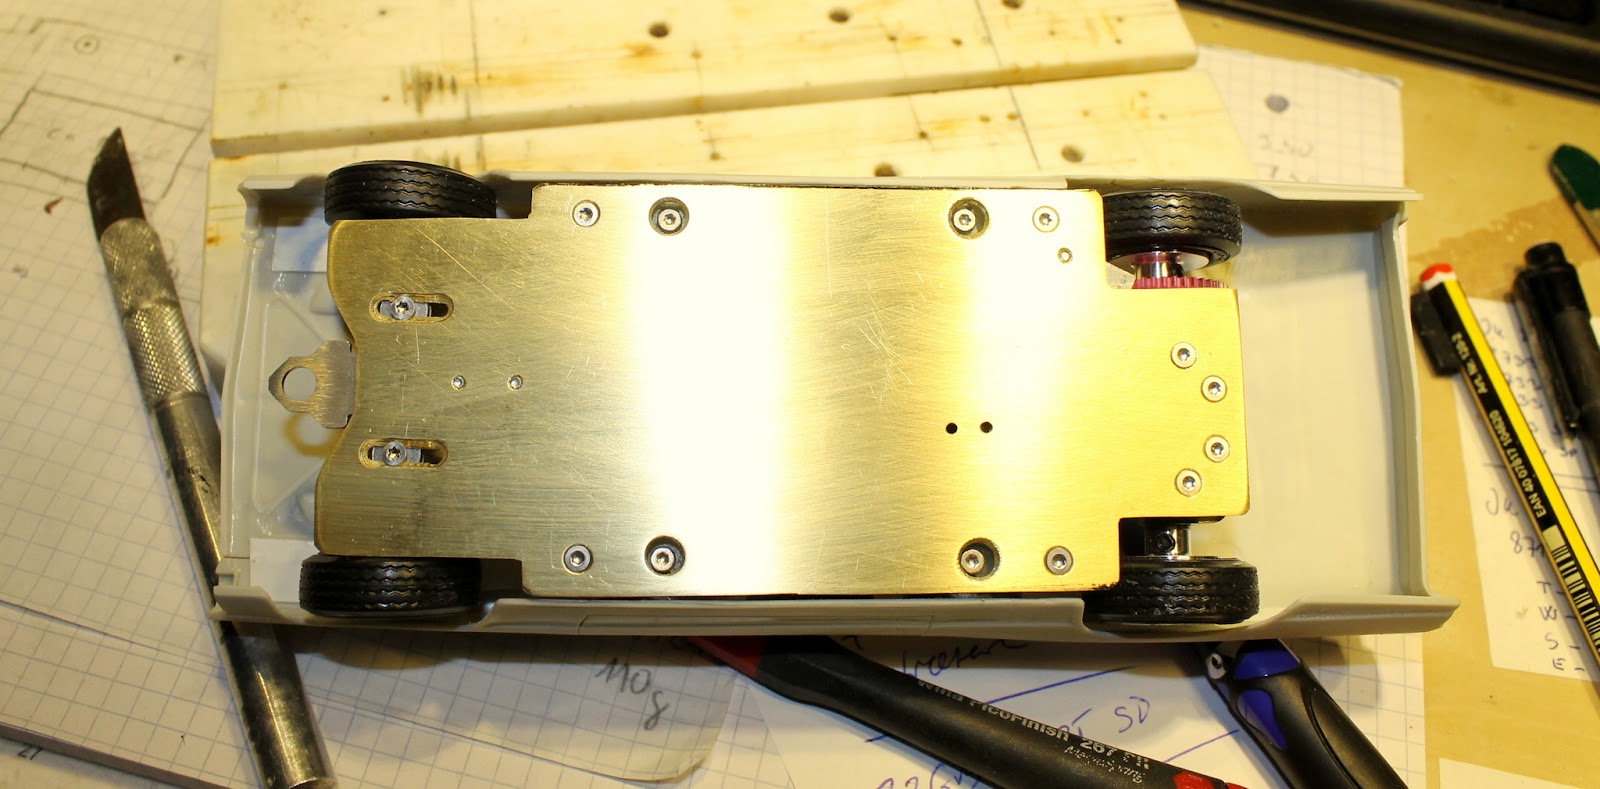
Simple chassis is a close fit

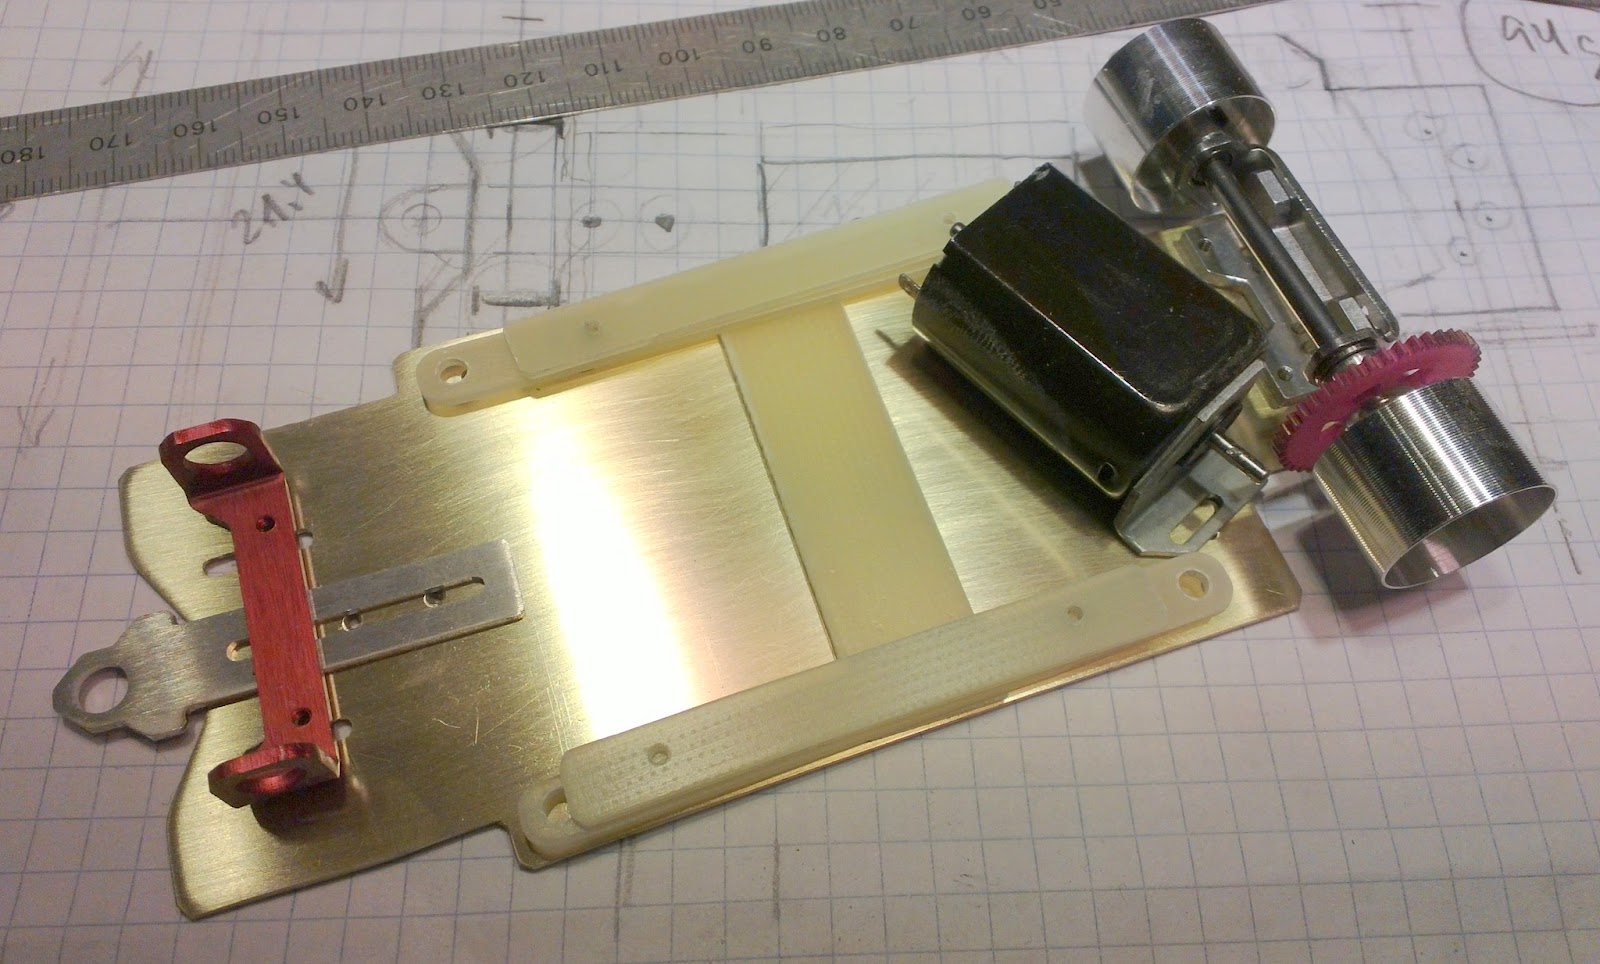
Assembled chassis with 18v Black Carrera motor
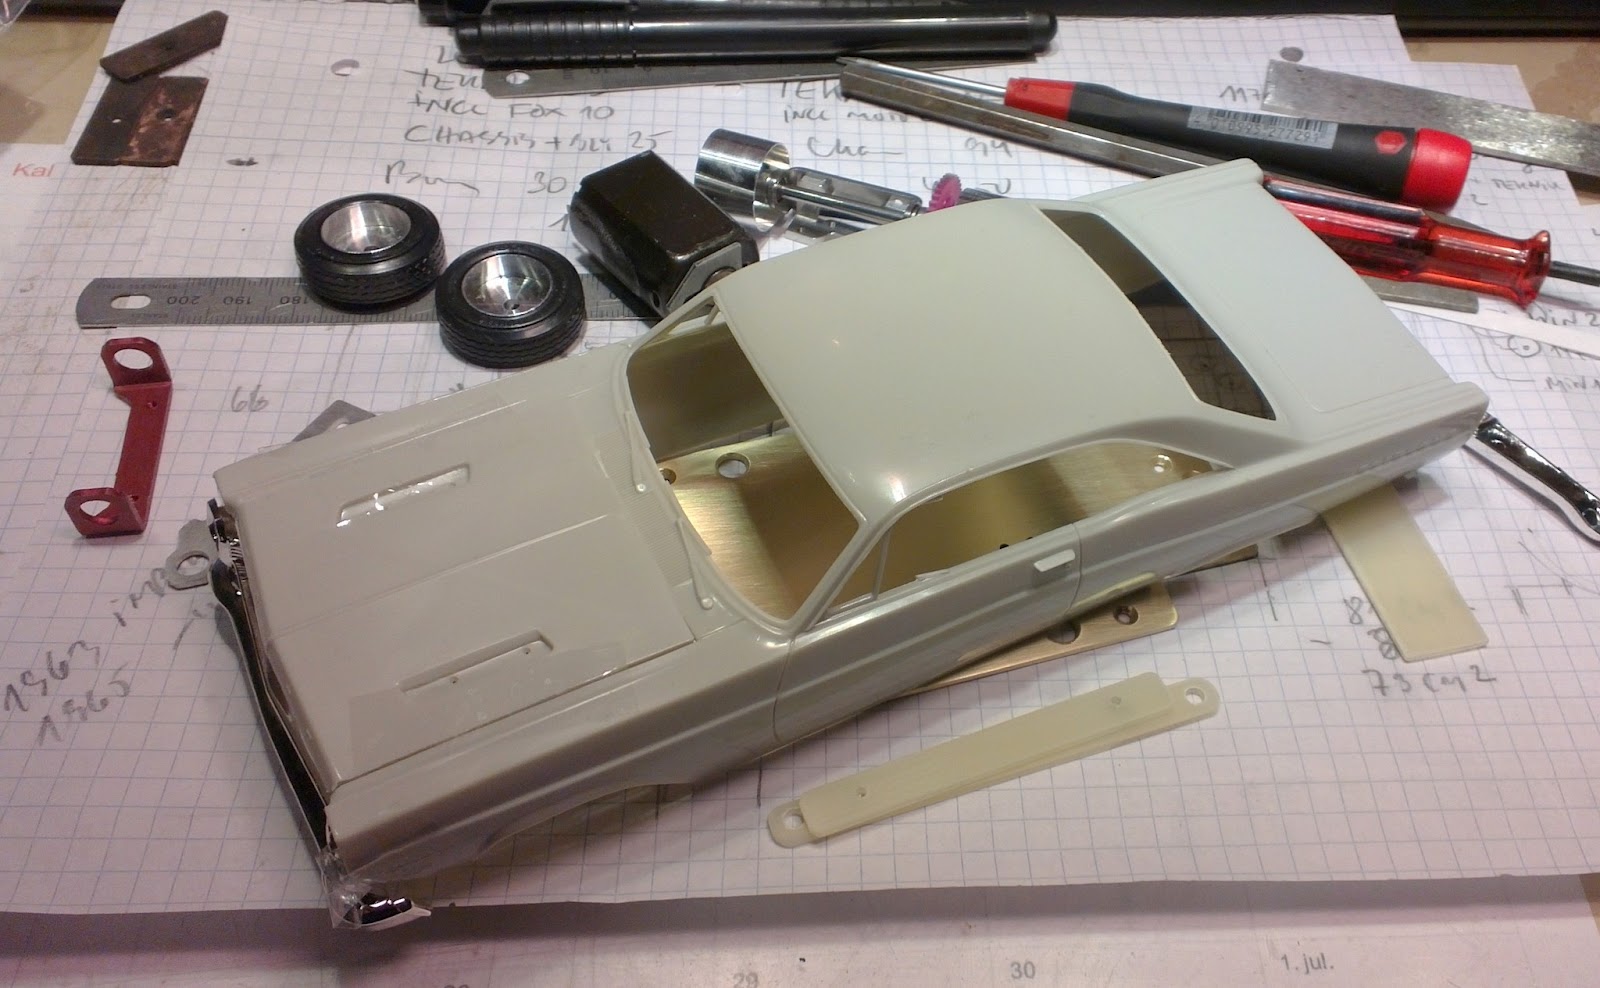
AMT 1966 Ford fairlane plastic kit body

Body mounts


Front hood intakes filled and sanded
Wheel cutout enlarged as per the original race car

Plastic kit wheel ready for making silicone mould for resin casting. Foam rubber glued on wheels. Rims are too wide and will be sanded down.
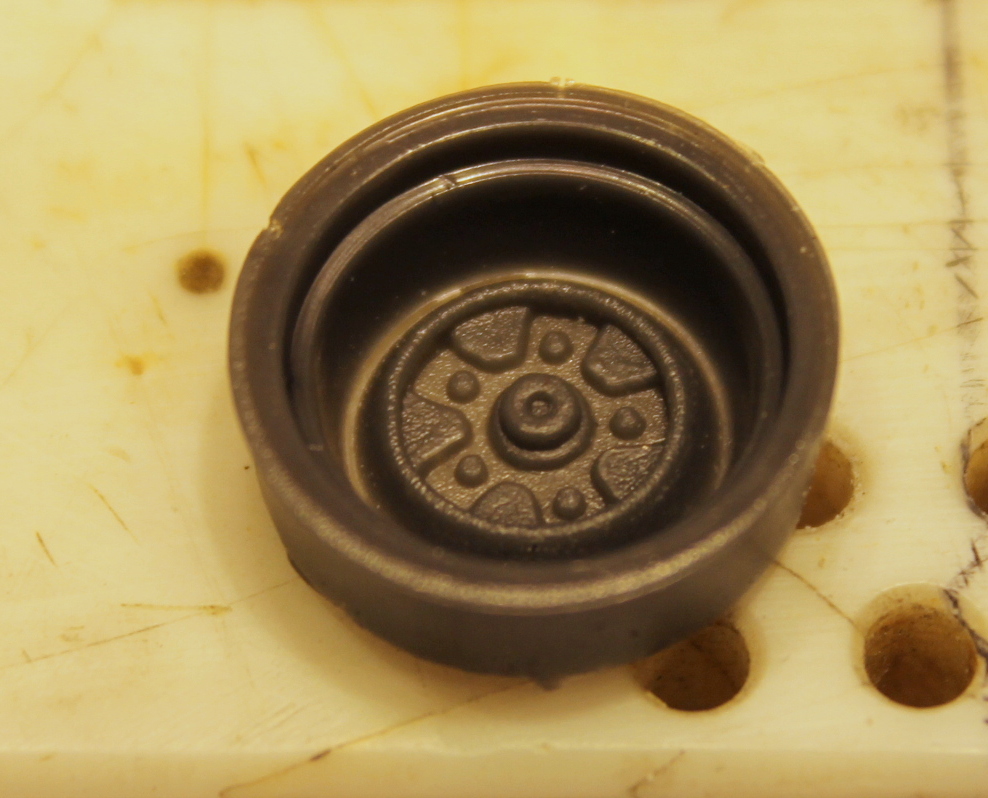
First casting of wheel insert - black coloured PU resin
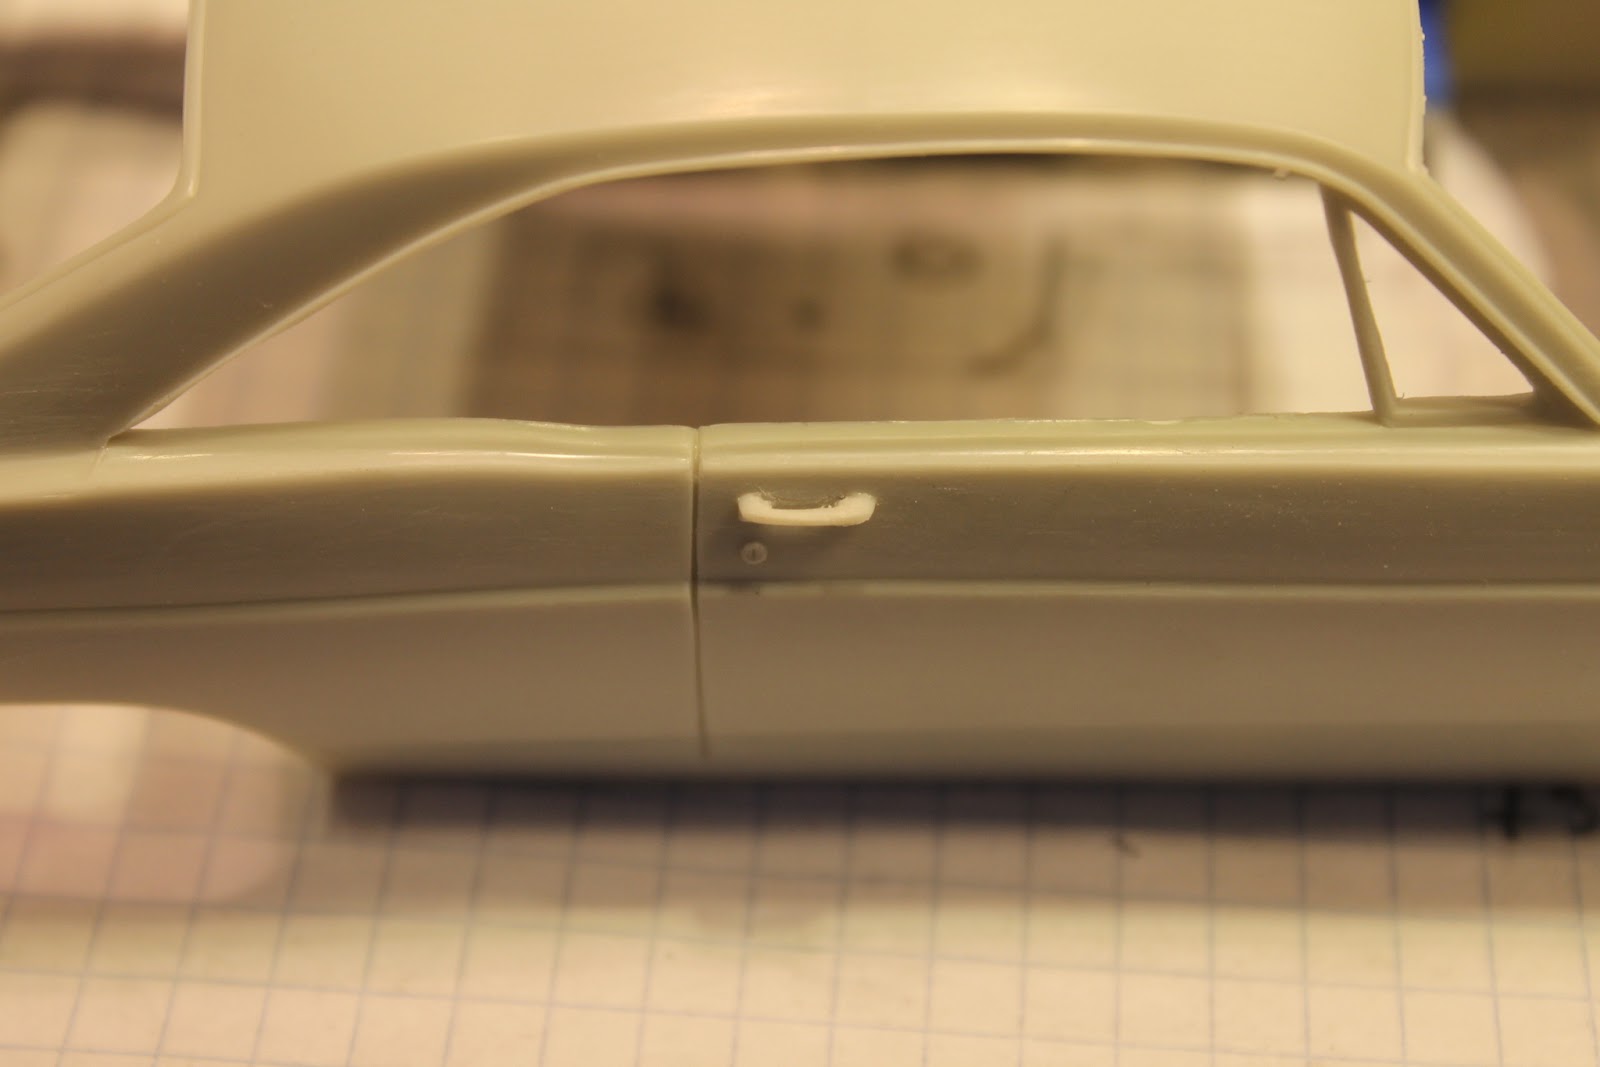
Door handles opened up

Handles as standard on kit
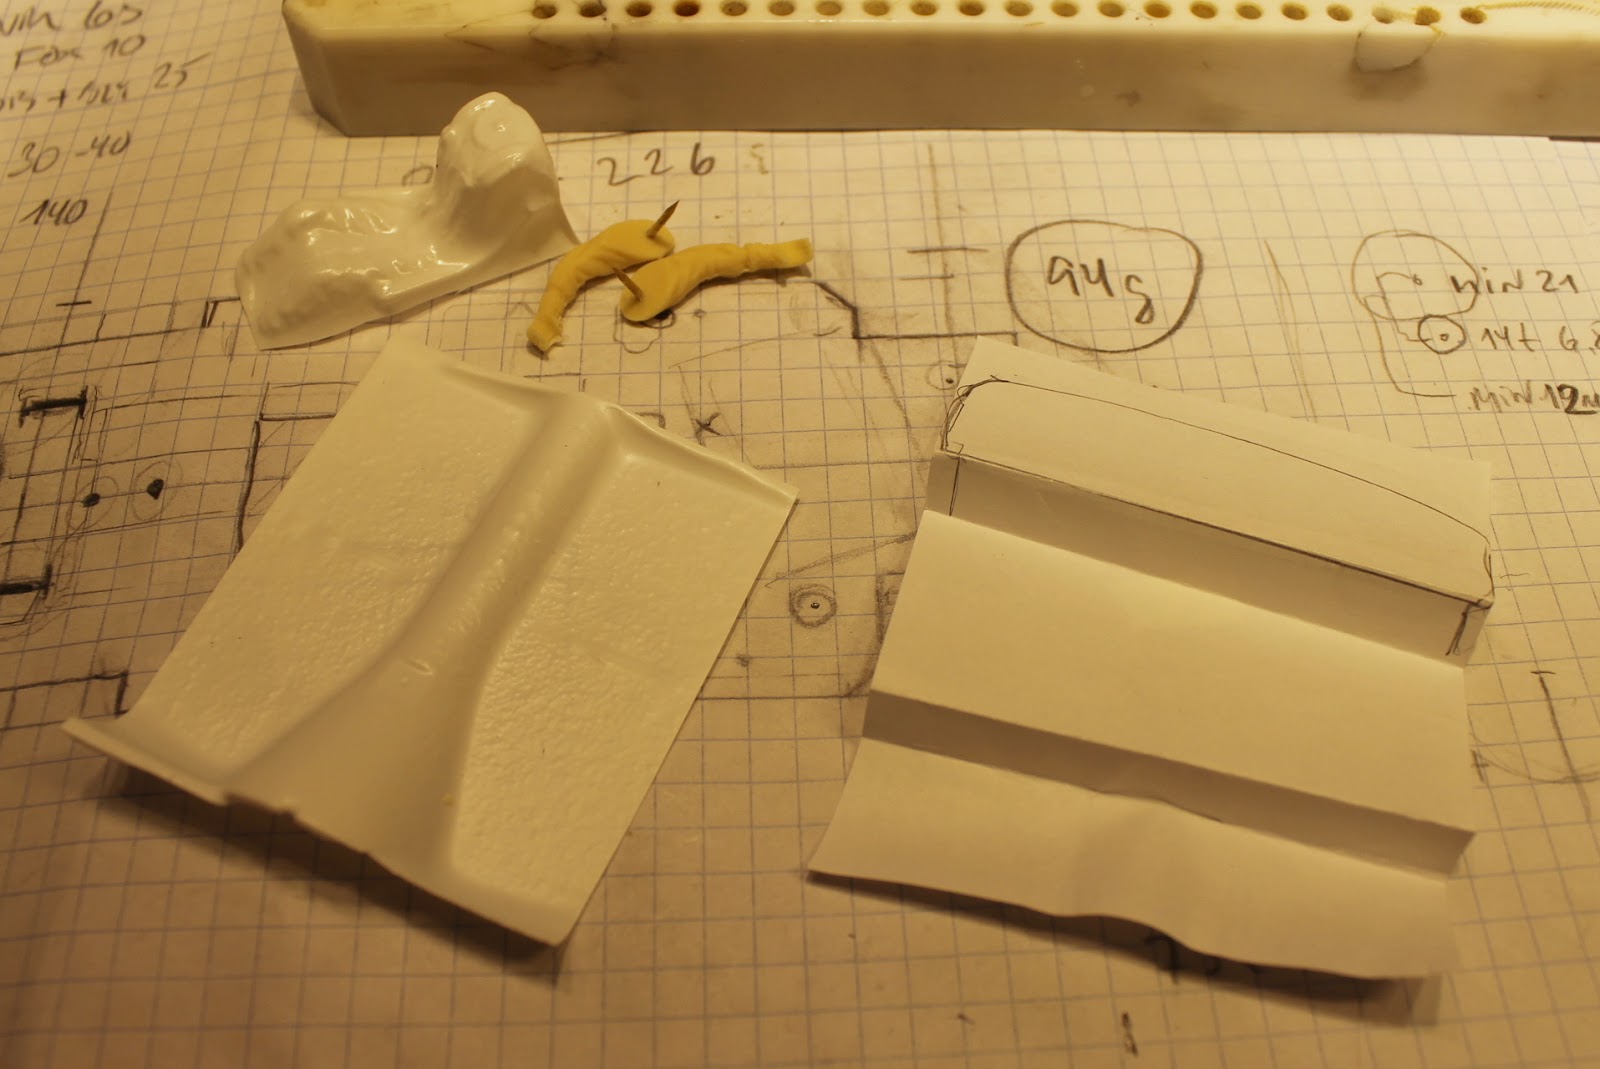
left: Home made vac form parts - driver and cockpit floor. Right: rear cockpiot floor folded in thin plastic card. I later found out that there was too little rrom for the rear wheels, so wheels wells will be added next time.
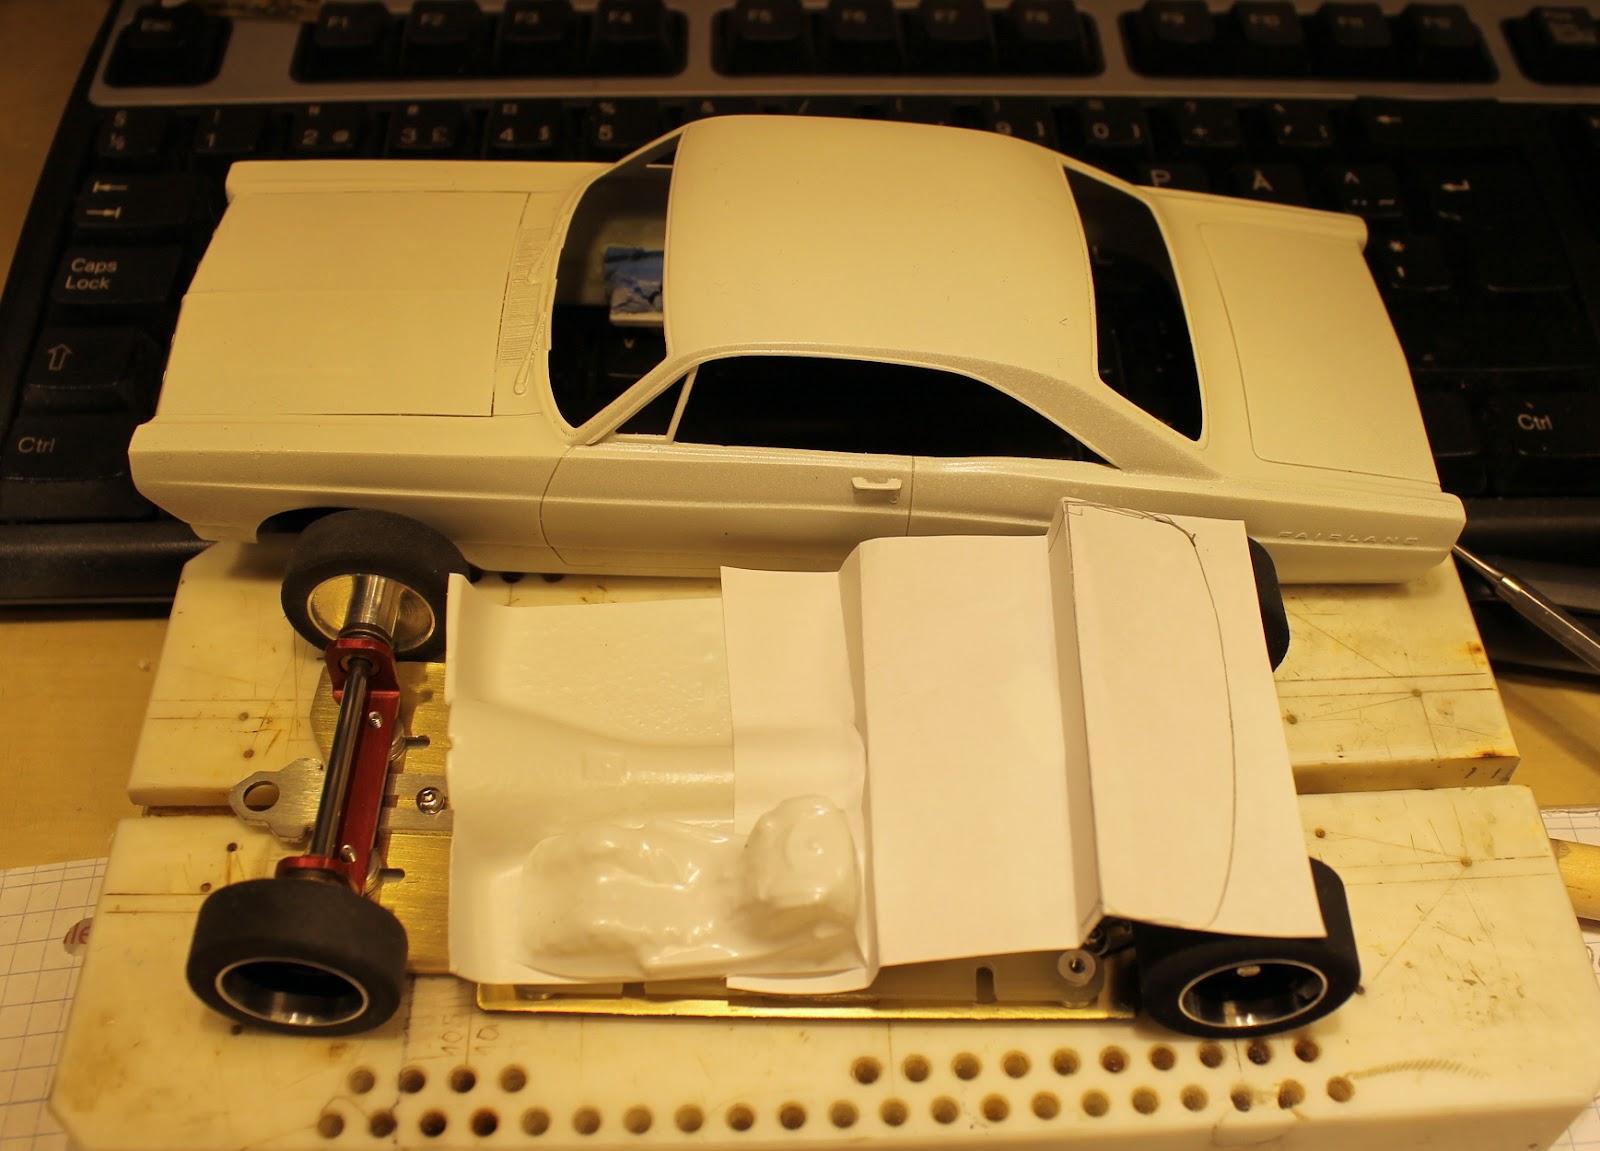
trial fit
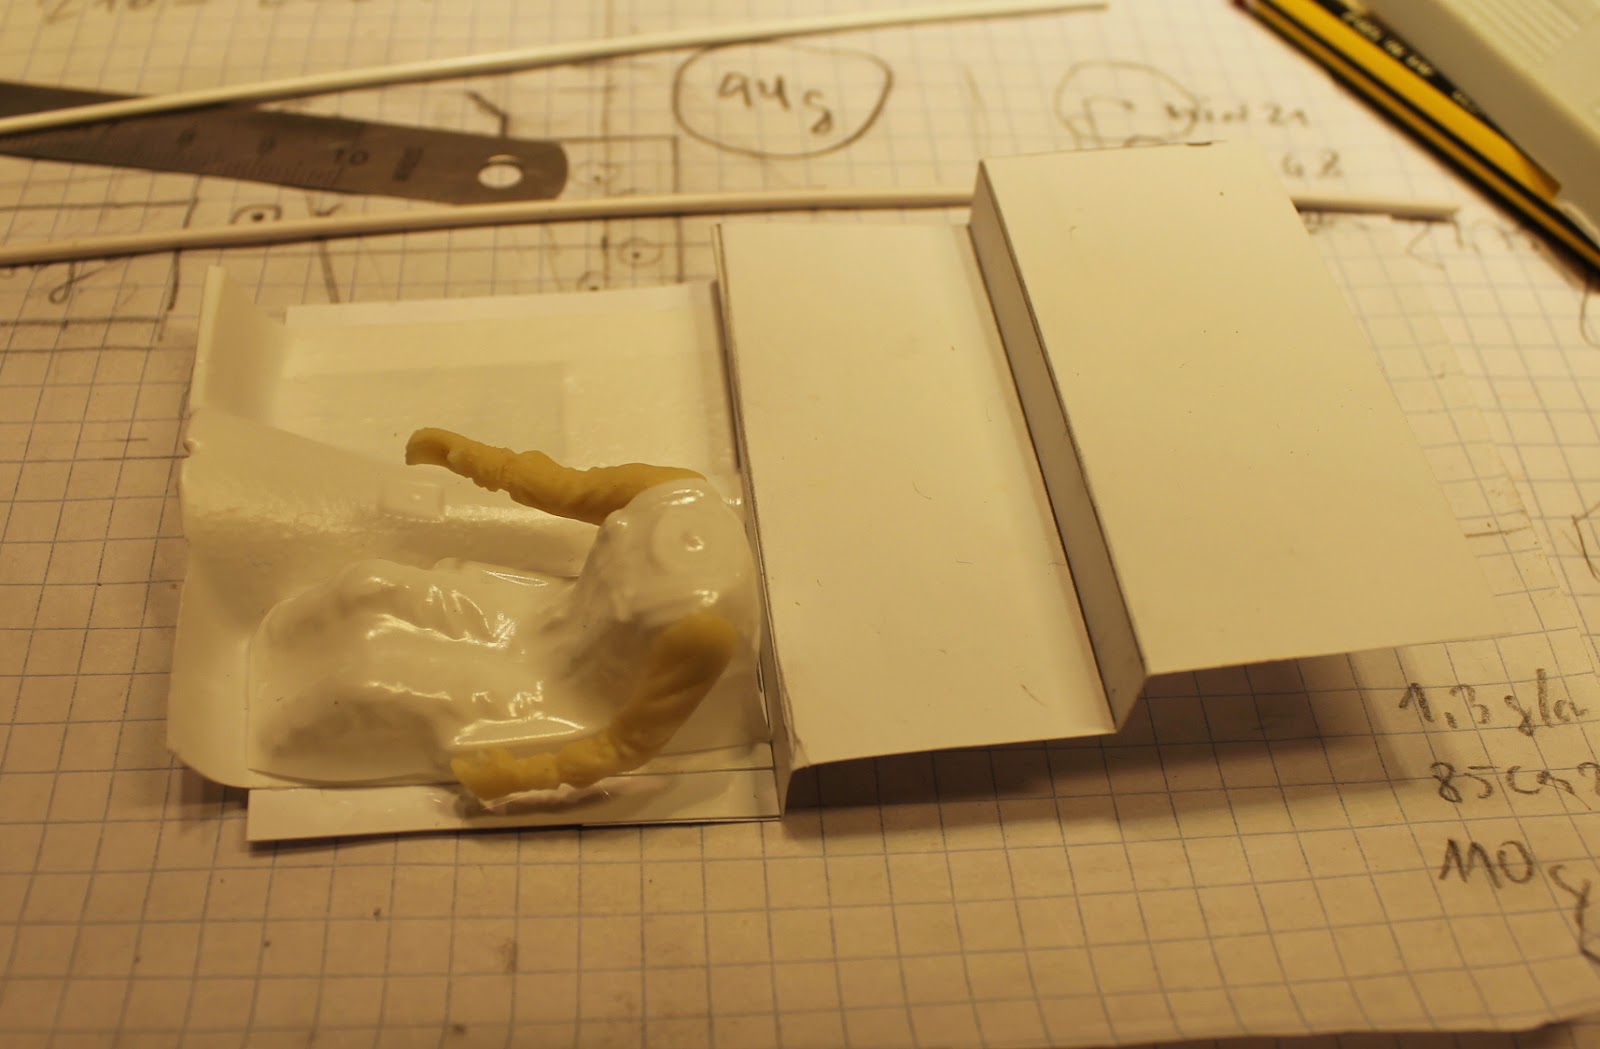
Interior glued together


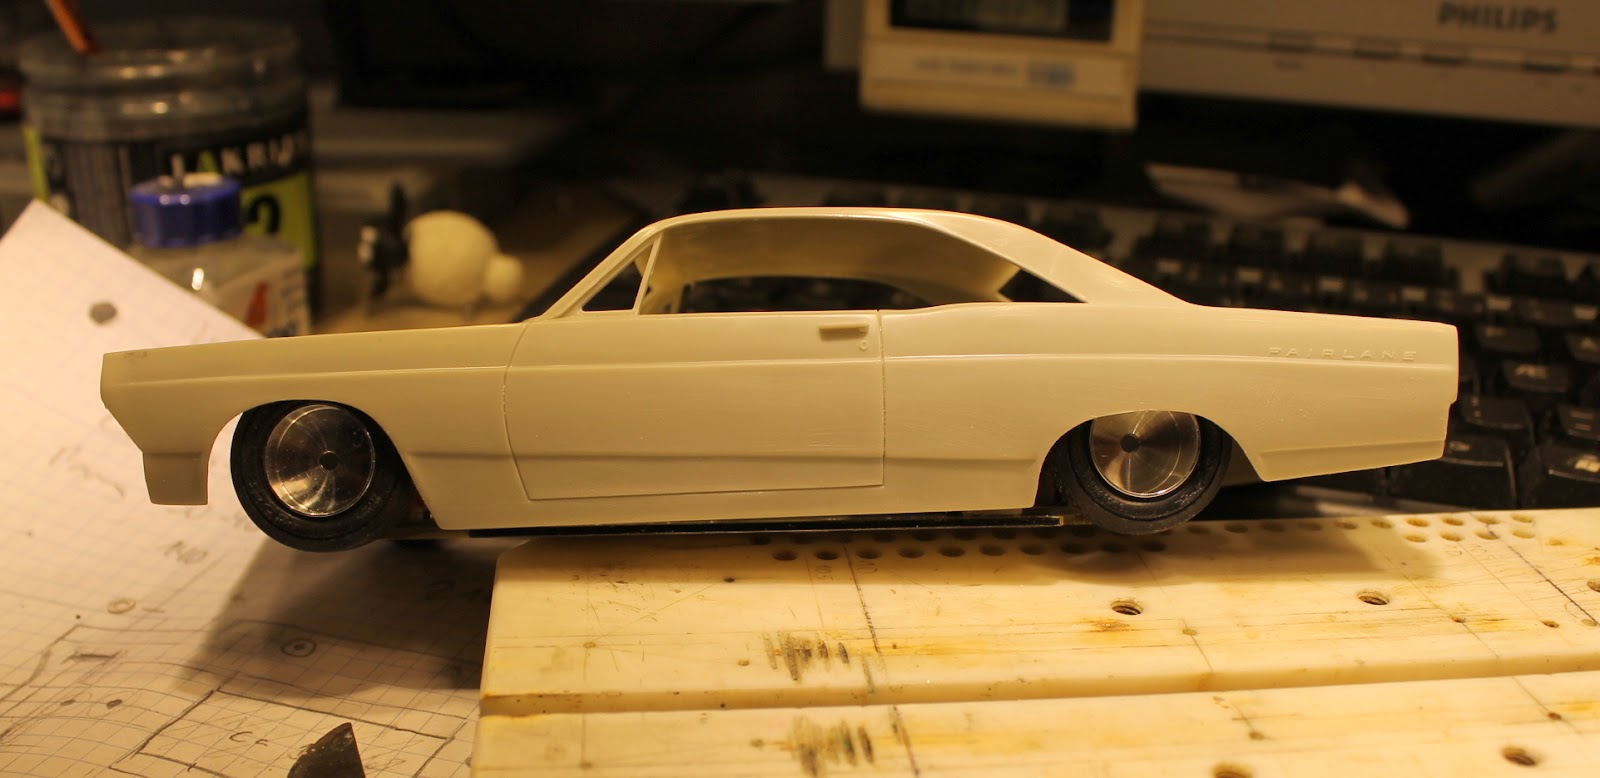
Finished wheels - 17mm ID alu wheels with hard foam front and soft foam rear. The rims and tyres were painted matt black with acrylics and sealed with matt clear acrylics before the decals were added. Then they received another coat of matt clear acrylic varnish to seal it off.
maybe the clear coat with reduce the difference - I hope so, alternatively I must make another body later on, because this is a test car and I want to try it out without much further delay.
Still hope in spite of yellow decals - this looks sweeeettt :-)
Next - clear coat on body and more work on the interior.

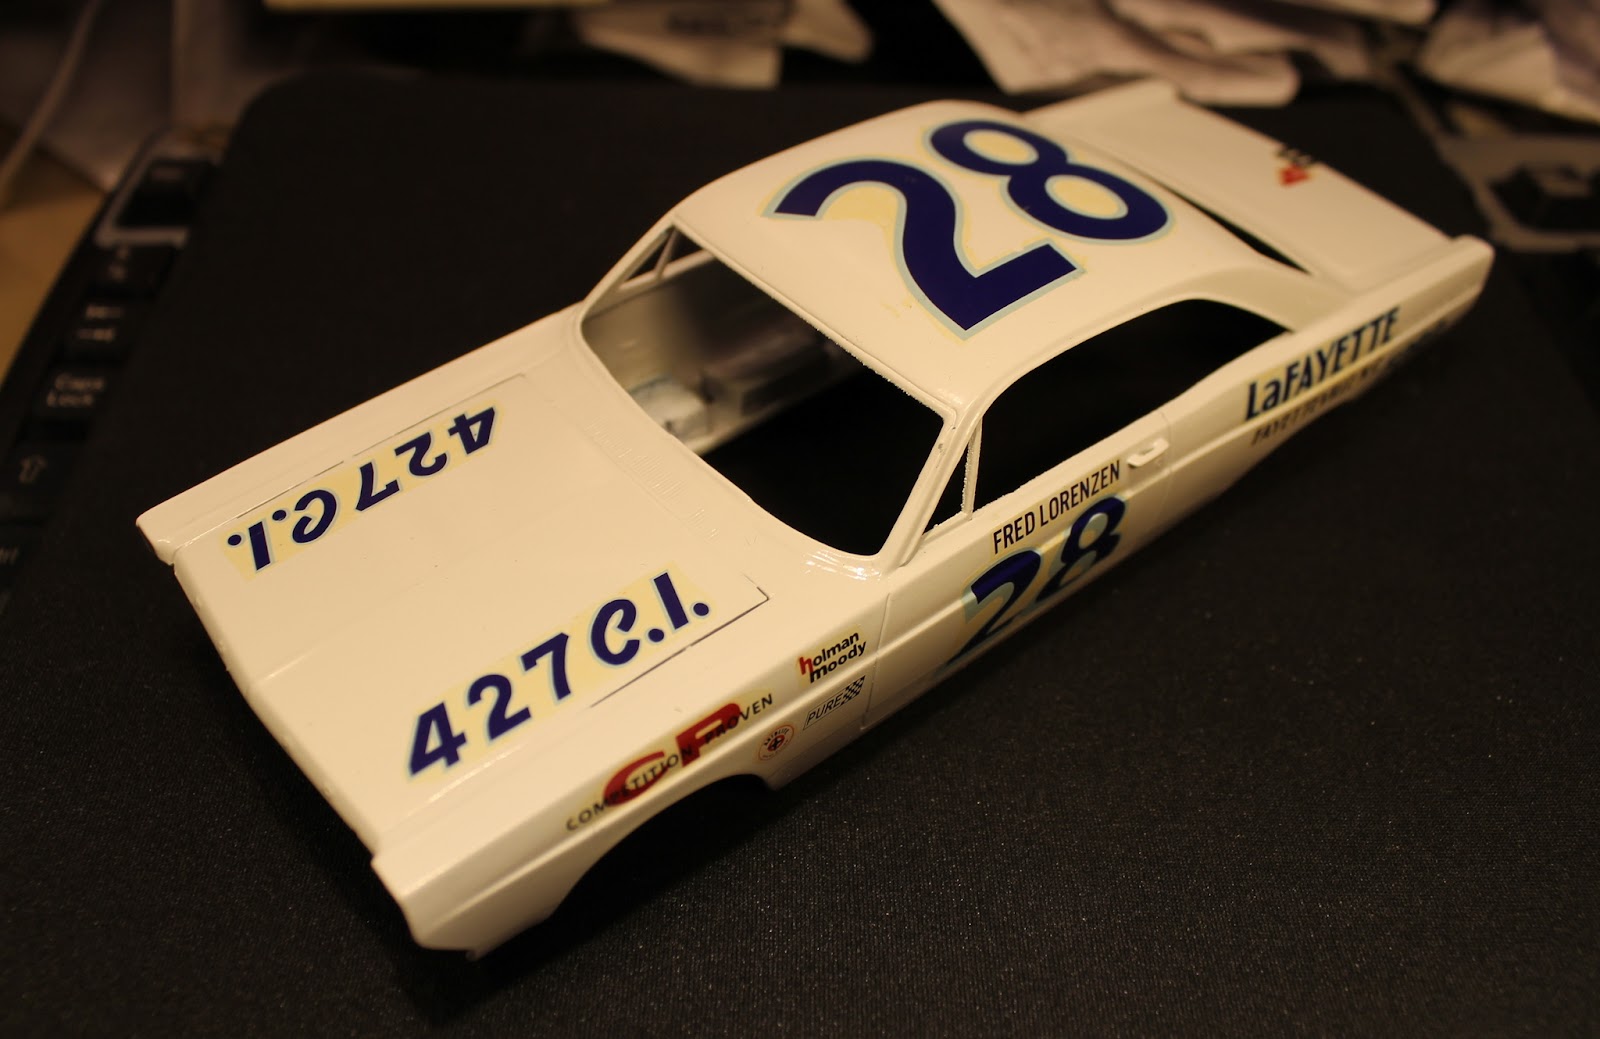
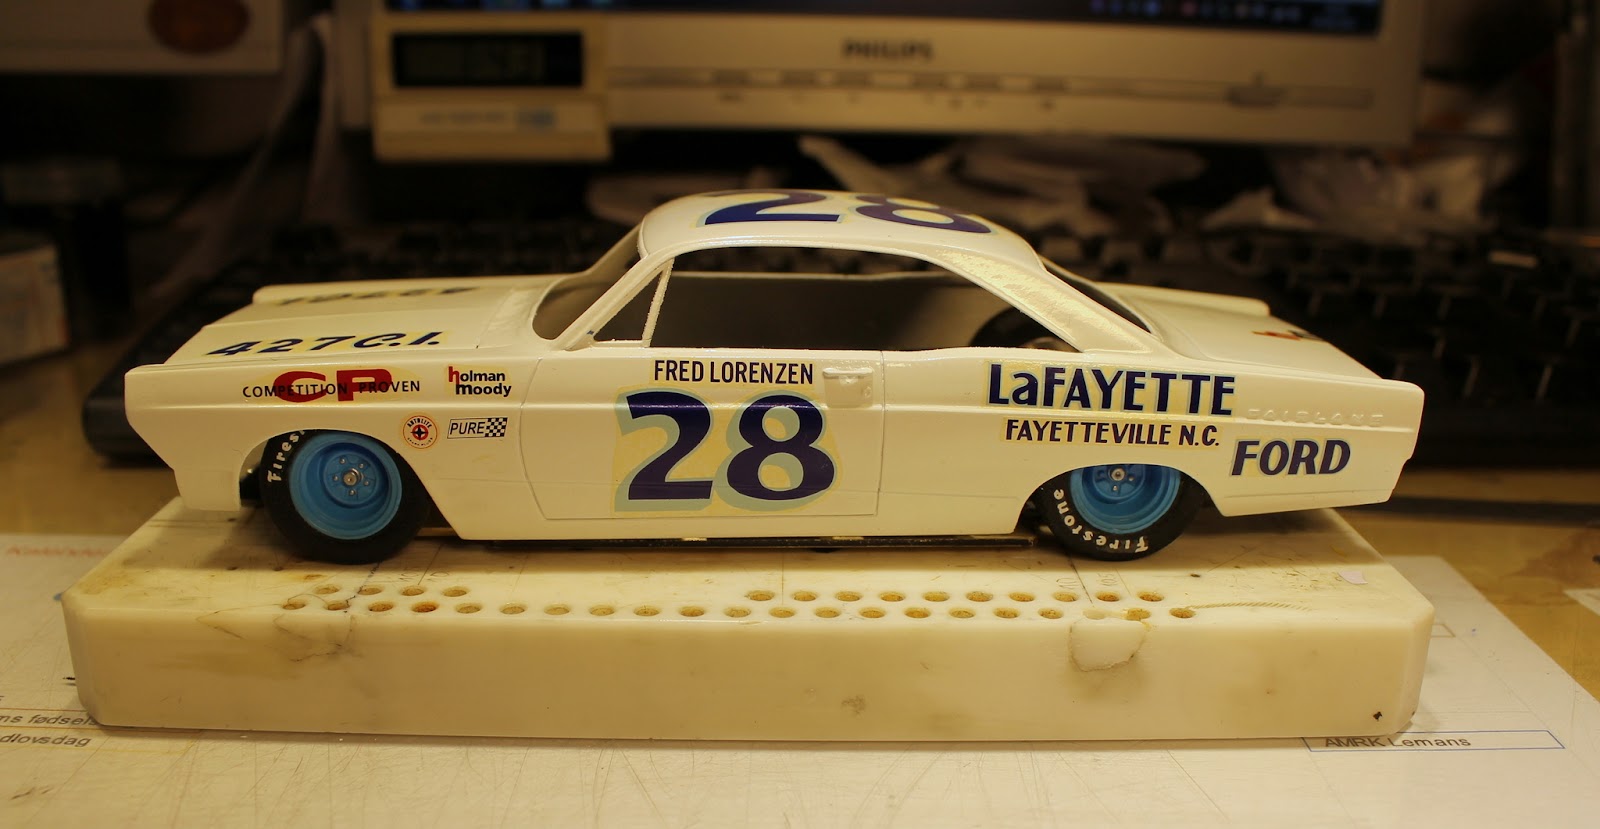
Car finished :-)

Driver looks nice and realistic - the deep interior tub makes a good impression. The cut outs for the rear wheels are visible through the rear window.

Lights are blended off with "alu" discs - actually it's the clear parts painted silver ;-). Also a fine screen is added in front of the grille

Rear lights are also blended off

All in all - a nice car :-)
Next project ?? - hmmmm - I have a 1963 Galaxie in stock, so .... but lets see :-)
Update oct. 2016
The Galaxie is actually done and has its own page here on this blog :-)
I have also built another chassis for a Ford Fairlane, based on the same drawing as above, but shortening the chassis plate and using a modified Schöler Intruder front end (see also below) makes the chassis fit cars with shorter wheel base as well.

Chassis plate with Schöler parts. Right is the shortened Intruder front end (standard shown left).

The assembled chassis with the Intruder parts mounted.
Easy chassis modification for Trans-Am or Nascar cars

I have previously used the cheap and versatile German Schöler Intruder chassis (available from Slotpoint.de) for different slot car projects and decided to give it a try as an easy way to get an easy available chassis for our Trans-Am/Nascar class.
The chassis is available in 55 or 60mm wide and with or without hole for the 13D motor it originally is intended for.
The chassis is available in 55 or 60mm wide and with or without hole for the 13D motor it originally is intended for.

My chassis is a 60mm with motor hole, which I have blocked with a piece of brass plate.
Our class rules specify unsprung chassis - and only the H-plate must move as usual.Therefor the front end must be secured and I use shorter versions of the spring tubes to center the front when mounting it without the longer tubes and springs.
The longest wheel base is approx. 120mm. Longer than that the chassis will need som strenghtening at the front.

The chassis is now shown assembled - please note the 13D motor mount is replaced by a similar Schöler part for the 18D motors specified in our rules.
The weight of the chassis is approx. 84g compared to the 105g of the homemade chassis shown above, so with a min. car weight of 220g !! there will be need for some extra weight.
Over the chassis there is a piece of 1,6mm brass which could be cut to length and mounted below the chassis front piece.

The chassis seen from below. There is plenty of room for additional weight in front of the chassis plate.
NEC oct 2016