Tutorial: Clear plastic slot car bodies - Preparing, decalling and painting
My way of preparing, decaling and painting clear slot car bodies

1:24 Scale clear body + scissors and Dremel tools for the job
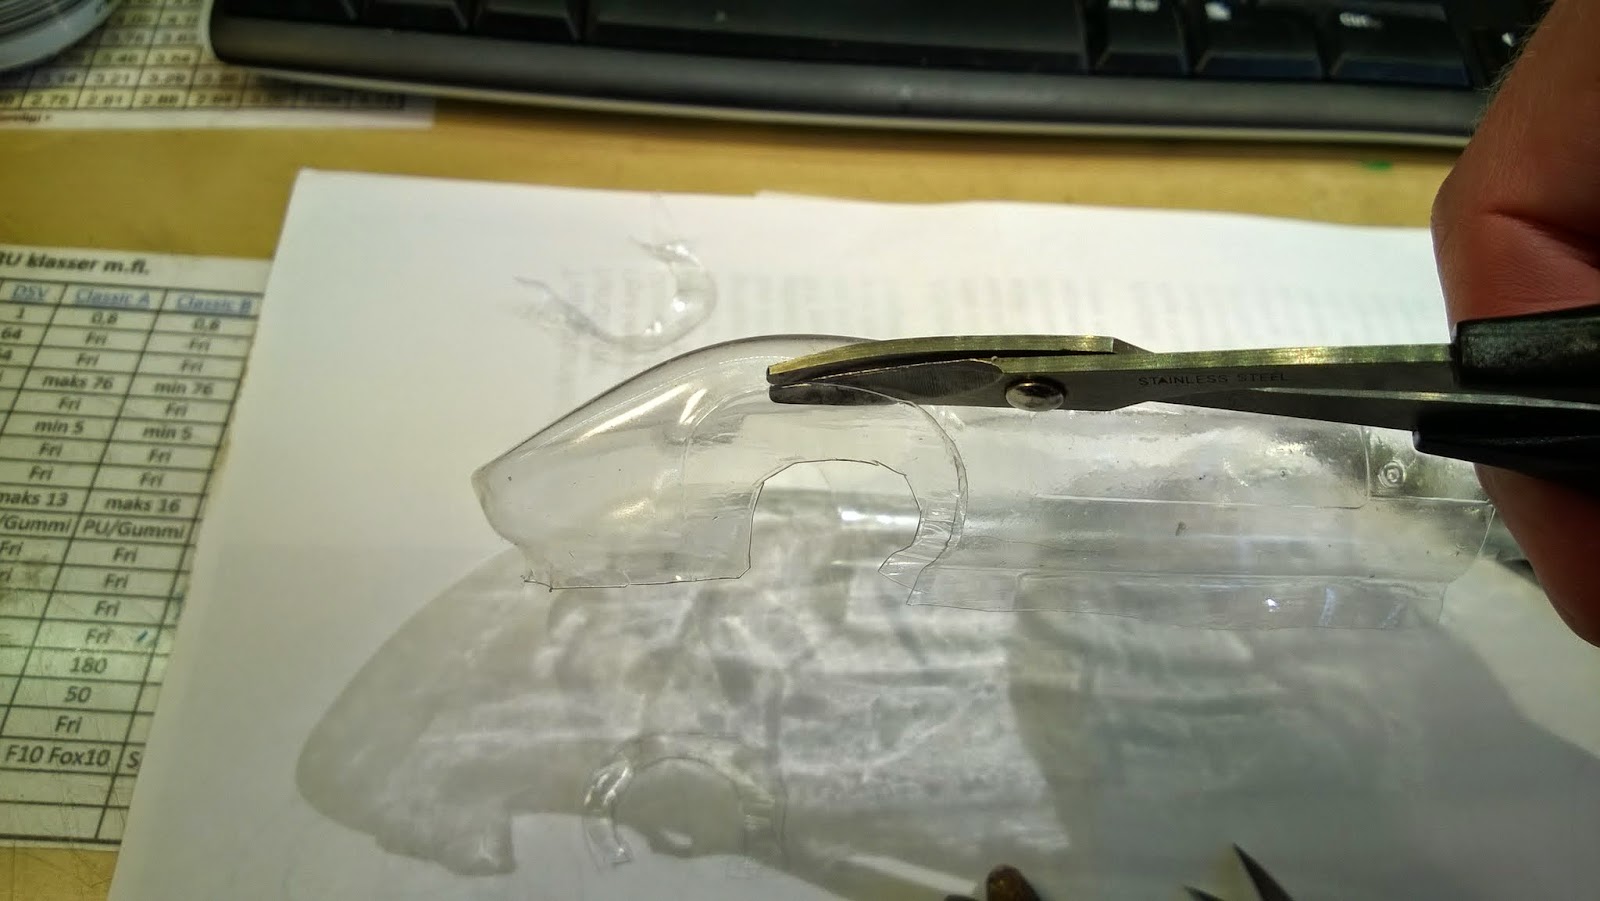
Cutting out the wheel arches with the curved Parma scissors or a nail scissors

Cutting out the cockpit using both curved scissors, Then the sides and front and rear body.
Finally all cutouts are cleaned using a dremel and the tools shown.
Finally all cutouts are cleaned using a dremel and the tools shown.
It is important that all cuts are smooth and clean to avoid the body cracking in the cuts on impact.

Now the body is ready for cleaning

Tools of the trade: Scouring Powder, Windows Clean with Ammonia (salmiak) or similar degreaser, fine abrasive papir and toothbrush (wife's preferably) :-)

First all cutouts are smoothed with fine sand paper and water

The the body is thoroughly cleaned with toothbrush and scouring powder

After washing with water, the body is cleaned inside and outside with Windows Cleaner

This operation is important to remove any traces of mould oil, finger prints etc.

The washed and dried body ready for decals - in this case from Neckcheese Retro (sorry for the ad)

Here are the ingredients: Body, decals, clear acrylic waterbased laquer/varnish (i now use Vallejo Gloss Varnish, but most water based clear acrylic lacquers/varnish will do) and scissors

Dip the cutout decal in water and when it's ready, brush a layer of clear varnish in the body.
Then mount the decal in the still wet varnish and remove trapped air bubbles with a brush. Take one decal at a time.
Mount the other decals in similar fashion and let them dry.
When the decals are dry, seal them with a another layer of clear varnish to avoid paint seeping under the decals - IMPORTANT.

The body is now ready for painting, but first we need to paint some details and mask off the windscreen

Engine details, tank covers and small details are painted from the inside with Vallejo metallic colours.
I also use Testors Metallizer paints for painting exhaust and motor parts (on the outside). When dry it can be carefully buffed/polished to a very nice finish.
I also use Testors Metallizer paints for painting exhaust and motor parts (on the outside). When dry it can be carefully buffed/polished to a very nice finish.

The windscreen are masked by Mr Masking Sol or Humbrol Maskol etc. Take care that the coating is thick enough - better too much than too little.

Now ready for painting

My mobile paint shop
a cardboard box - a fume extractor - an Airbrush Clean Pot - a heating gun - paint and airbrush cleaner - and of course a small compressor.
I use the heating gun (carefully) to dry the paint between layers :-)
I use the heating gun (carefully) to dry the paint between layers :-)

I use Vallejo Premium Airbrush Colours or Parma Faskolor. The Vallejo Airbrush Cleaner is good to keep your airbrush clean inside after use and also between colour changes.
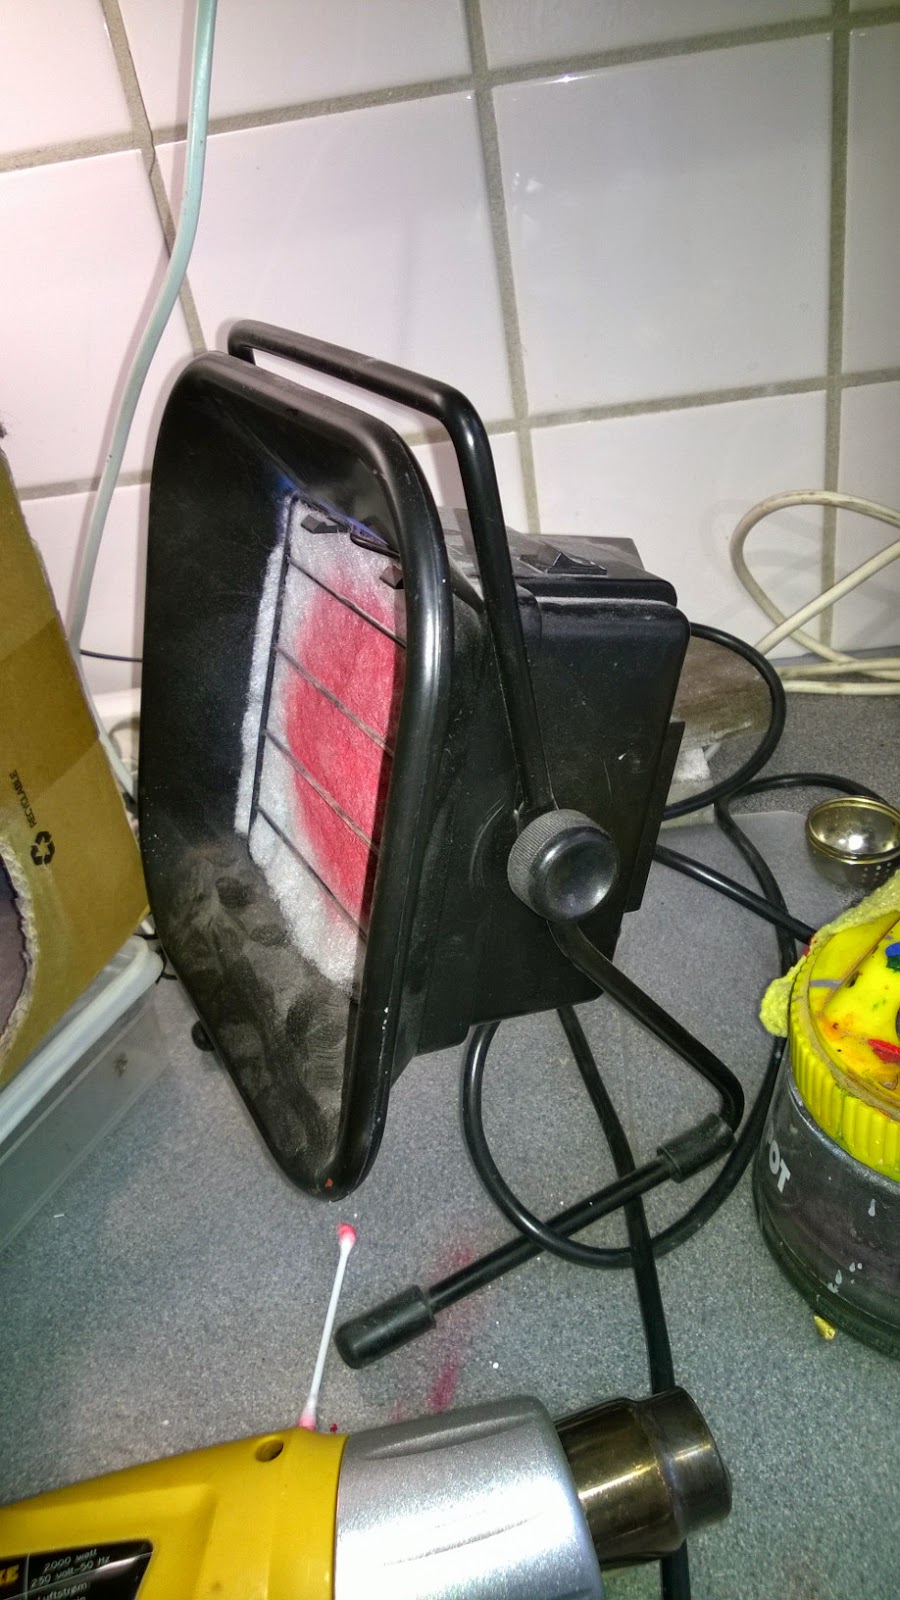
The fume extractor is originally for soldering etc, and has a carbon filter, but I added an extra layer of filter material. I buy it in sewing shop and it is used for insulation in jackets etc - and cheap and also effective as seen on the red spot in the picture :-)

The cleaning pot is for emptying the airbrush of surplus paint and also used when cleaning the airbrush. It also have an integrated airbrush holder which is very useful.

Body painted red with a white layer behind to enhance the very translucent red colour

Airbrushing these bodies and especially the smaller F1 bodies leaves a "spill-over" on the outside - will be taken care of later :-)

The Mobile Paint Shop ready for storage under my work table
- a very compact solution necessary when living on 52m²
Additionally I have a very small workshop in a small 6-7m² basement which I share with a washing machine, a dry tumbler and the central heating system. I have a larger permanent paint booth over there which is used when using solvent based paints
Additionally I have a very small workshop in a small 6-7m² basement which I share with a washing machine, a dry tumbler and the central heating system. I have a larger permanent paint booth over there which is used when using solvent based paints

I use Vallejo Airbrush Cleaner to remove the paint on the outside of the body

I use a simple tool made by a piece of wood to remove the masking rubber without lifting the edge of the new paint

Body is decorated with thin and thicker tips - wide for cockpit surroundings and thin for door and body lines
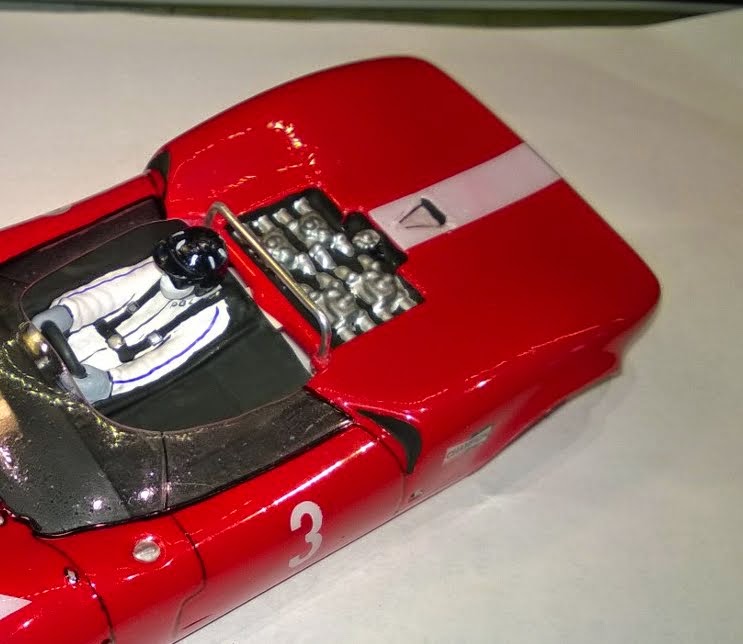
Driver and rollbar is installed. Roll bar is 2mm aluminium flower decoration rod. Driver insert is my own CanAm driver for inline cars.

Engine details are enhanced with black wash
Body is ready for mounting :-)
EXTRA TIPS

If the decals are a bit transparent, it helps to paint them on the backside with white paint

Alu rod 1,5 or 2mm thick for flower decorations etc - found in garden canters and craft stores. One roll last a lifetime of roll bars  Light weight and cheap - also good for roll bars on CanAm cars etc.

Exhaust pipes are made from alu or plastic tubes and glued on the inside

Another example of how the exhausts enhance the looks of the cars

Here I use 3mm plastic tubes with 2.13mm hole, but alu tubes is also good due to low weight.
I cut the tube by rolling the tube while holding a sharp knife on top of it. This give a nice and sharp cut.

The ends are sanded smooth and the ends are opened up with a scalpel and filed smooth.

on these cars, the tubes has not the same length, so I start by gluing the first set together with very thin plastic glue (or super glue for alu tubes). When dry, I place the ends of the next set as shown above and glue these as well. This way I am sure the two sets are complete alike.

The holes in the body are opened up with small drill, files and or a sharp knife and the exhausts are trial fitted, before gluing them into the body with super glue. I use a sprinkle of baking powder to fix them inside the body and this also fixes the glue in a second.

Here are the two bodies ready for shipping out to a friend in Sweden :-)
Niels Elmholt 23-05-2015
Last Revised 09-10-2020